Pumpkin Pie Recipe: Creamy, Easy, Spiced and So Classic
There is a moment every fall when the kitchen smells like cinnamon and the oven timer feels like a countdown to the holidays. A slice of pumpkin pie carries that moment on a plate: a silky, gently spiced filling, a golden crust that flakes at the fork, and a cloud of whipped cream on top. It is the dessert people ask for by name before the turkey is even carved.
This pumpkin pie recipe serves 8 slices and takes 3 hours 15 minutes from start to finish, with 20 minutes of hands-on work, 55 minutes in the oven, and a 2 hour cool and chill while the filling sets. The filling comes together in one bowl with a whisk, so the hard part is simply waiting for it to cool before you slice. Make it the day before Thanksgiving and it tastes even better.
Why You’ll Love This Pumpkin Pie Recipe
- A silky, custardy filling: Evaporated milk and eggs bake into a smooth filling that slices clean and never turns grainy.
- Classic warm spices: Cinnamon, ginger, nutmeg and cloves give the pie its familiar fall flavor without overpowering the pumpkin.
- Easy to make ahead: Bake it a day early and chill it overnight, so dessert is ready before the guests arrive.
- A flaky, golden crust: A store bought crust works well here, and a homemade one makes it even better.
- A holiday table favorite: Thanksgiving, Christmas and autumn dinners all welcome this pie, and it feeds 8 with one pan.
Read Also: Pumpkin Bread
Ingredients You’ll Need
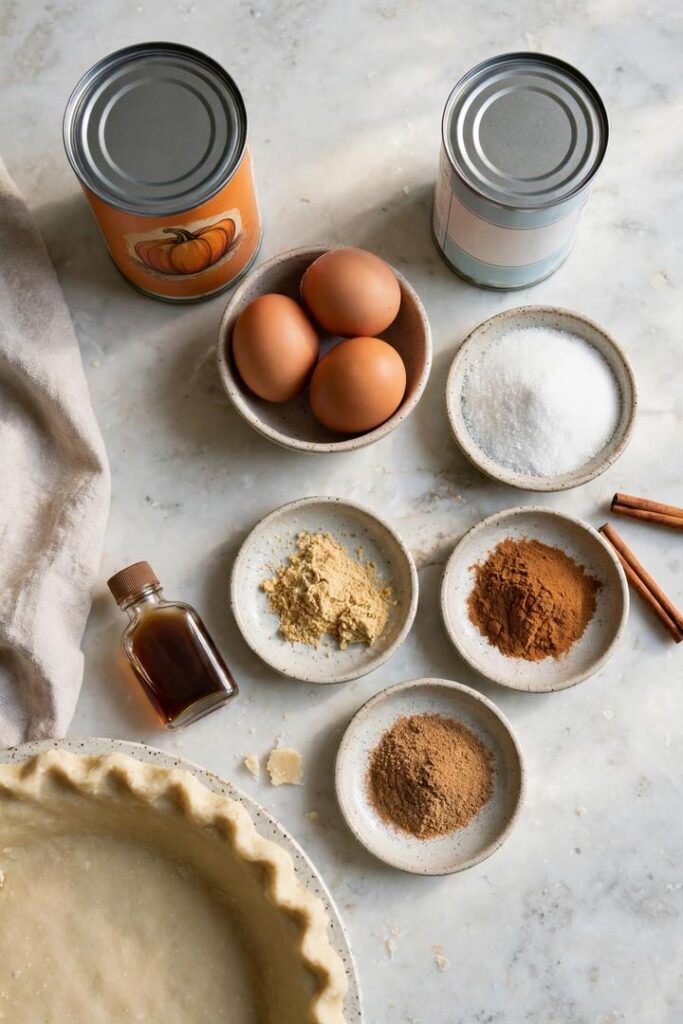
Canned pumpkin puree is the right pick here, not pumpkin pie filling, since the filling already has sugar and spices mixed in and would throw off the balance. Look for a can that lists only pumpkin on the label. This pumpkin pie recipe uses one can of puree and a short list of pantry spices, and the full amounts are below.
Recipe Timing
| Detail | Value |
|---|---|
| Servings | 8 slices |
| Difficulty | Medium |
| Course | Dessert |
| Cuisine | American |
| Prep Time | 20 minutes |
| Cook Time | 55 minutes |
| Rest Time | 120 minutes |
| Total Time | 195 minutes |
For the Crust
- 1 unbaked 9-inch pie crust, store bought or homemade: the flaky golden base that holds the filling
For the Filling
- 1 can (15 ounces) pumpkin puree, not pumpkin pie filling: the smooth, earthy heart of the pie
- 3/4 cup granulated sugar: sweetens the filling without hiding the pumpkin
- 1 teaspoon ground cinnamon: the warm lead spice in the classic blend
- 1/2 teaspoon ground ginger: adds a gentle heat behind the cinnamon
- 1/4 teaspoon ground nutmeg: rounds out the spice blend with a soft, warm note
- 1/4 teaspoon ground cloves: a small amount goes far and deepens the fall flavor
- 1/2 teaspoon salt: sharpens the spices and balances the sweetness
- 2 large eggs, lightly beaten: set the filling into a sliceable custard
- 1 can (12 ounces) evaporated milk: makes the filling silky and rich without heaviness
- 1 teaspoon vanilla extract: adds warmth and rounds out the spices
For Serving
- Whipped cream, for serving: a cool, soft topping that melts slightly into each warm slice
- Ground cinnamon, for dusting (optional): a pretty finish on top of the cream
Read Also: Butter Cookies
Allergen & Dietary Disclosure
This pumpkin pie recipe contains wheat and gluten, from the crust, milk, from the evaporated milk and the whipped cream, and eggs, from the filling, so it is not suitable for anyone avoiding gluten, dairy or eggs as written. A gluten free pie crust and a dairy free evaporated milk swap can work, though the filling will be a little softer, so chill it a full 2 hours before slicing. This recipe is not guaranteed safe for any specific allergy, so read every label and use the brands you trust.
Equipment Needed
- 9-inch pie dish: the standard size for this filling, deep enough to hold it without spilling.
- Large mixing bowl: gives you room to whisk the filling smooth without splashing.
- Whisk: blends the pumpkin, sugar, spices and eggs into a uniform custard.
- Baking sheet: catches any drips in the oven and makes the hot pie easy to move.
- Pie shield or strips of foil: protects the crust edges from browning too fast.
- Wire cooling rack: lets air move under the pie dish so the bottom crust stays crisp.
Step-by-Step Directions
Step 1: Prep the Crust and Oven
Heat the oven to 425 degrees F and fit the pie crust into the 9-inch pie dish, crimping the edges with your fingers or a fork. Set the dish on a baking sheet so any drips land on the tray and not on the oven floor. If you use a store bought crust, unroll it gently and press it into the dish without stretching it, since stretched dough shrinks back as it bakes.
Step 2: Mix the Filling
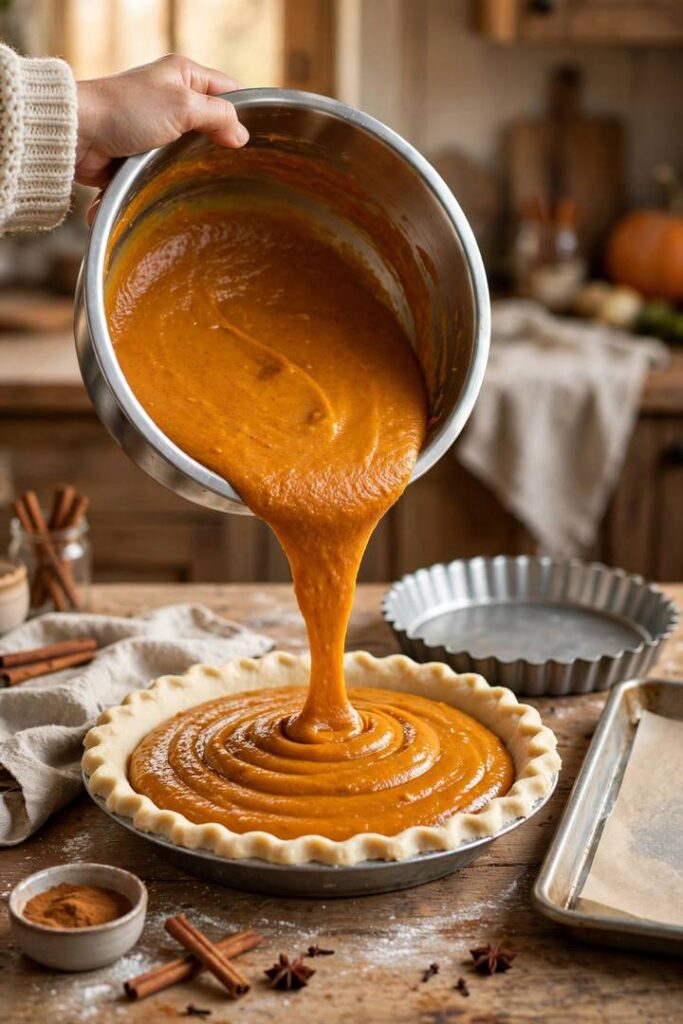
Whisk the pumpkin puree, sugar, cinnamon, ginger, nutmeg, cloves and salt in a large bowl until the mixture looks smooth and even in color. Add the beaten eggs, evaporated milk and vanilla, then whisk again until the filling looks silky with no streaks of egg left. Chef’s Note: whisk the spices into the pumpkin before the wet ingredients go in, since dry spices clump when they hit milk first and never quite blend out.
Step 3: Fill and Bake
Pour the filling into the crust and smooth the top with a spatula, then slide the baking sheet into the oven. Bake at 425 degrees F for 15 minutes, then lower the heat to 350 degrees F and bake for 40 more minutes. Shield the crust edges with foil after the first 20 minutes if they start to brown too fast. The pie is done when the center still wobbles slightly like set gelatin when you nudge the dish, since it firms up as it cools.
Step 4: Cool on the Counter
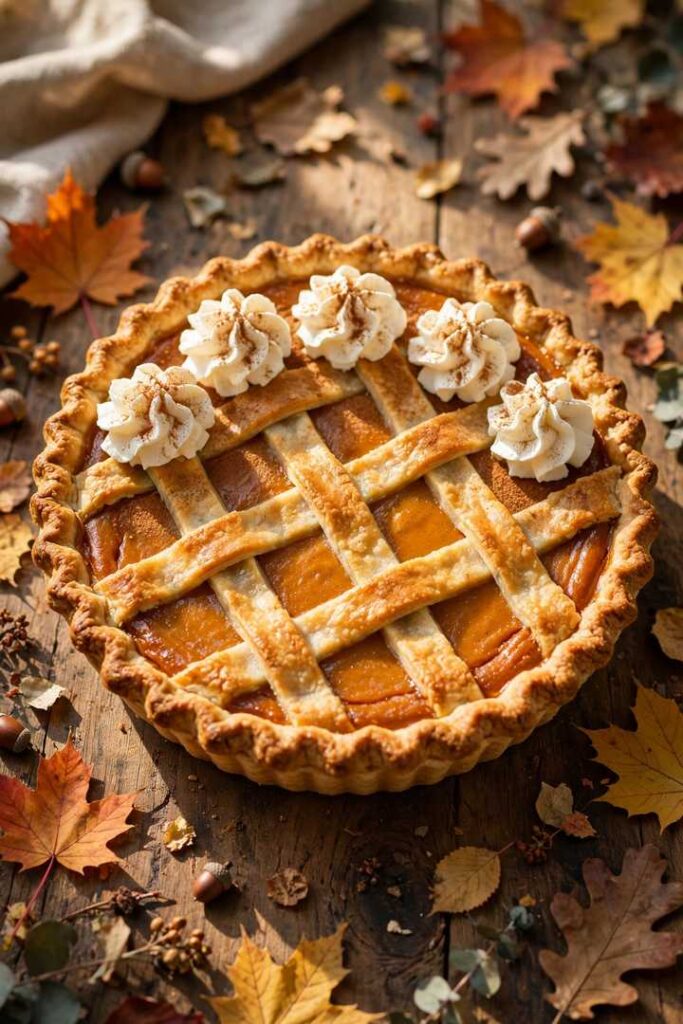
Set the pie on a wire rack and let it cool at room temperature for 1 hour. The filling continues to set during this hour, and the center firms from a soft wobble into a clean, sliceable custard. Chef’s Note: do not rush this step by moving the pie straight into the fridge, since a sudden chill can crack the surface and leave the center soft.
Step 5: Chill Before Slicing
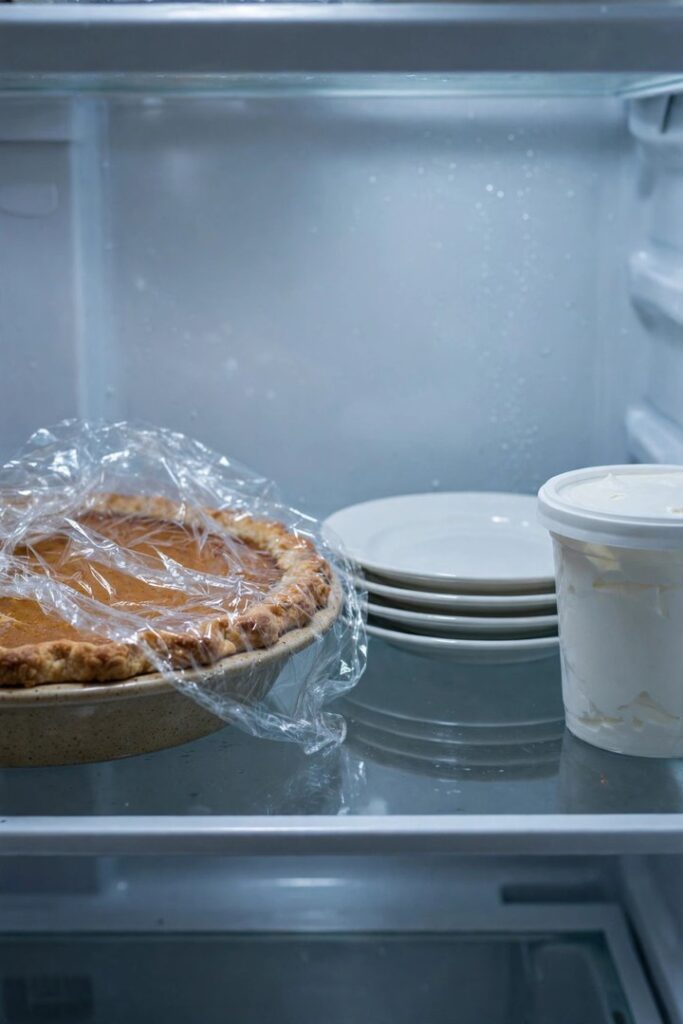
Move the pie to the fridge for 1 more hour, until the filling feels cold and firm all the way through. A full chill is what gives you neat, clean slices instead of soft wedges that slump on the plate. Chef’s Note: if you plan to serve the pie the next day, cover it loosely with plastic wrap once it is fully cold and keep it chilled overnight.
Step 6: Slice and Serve
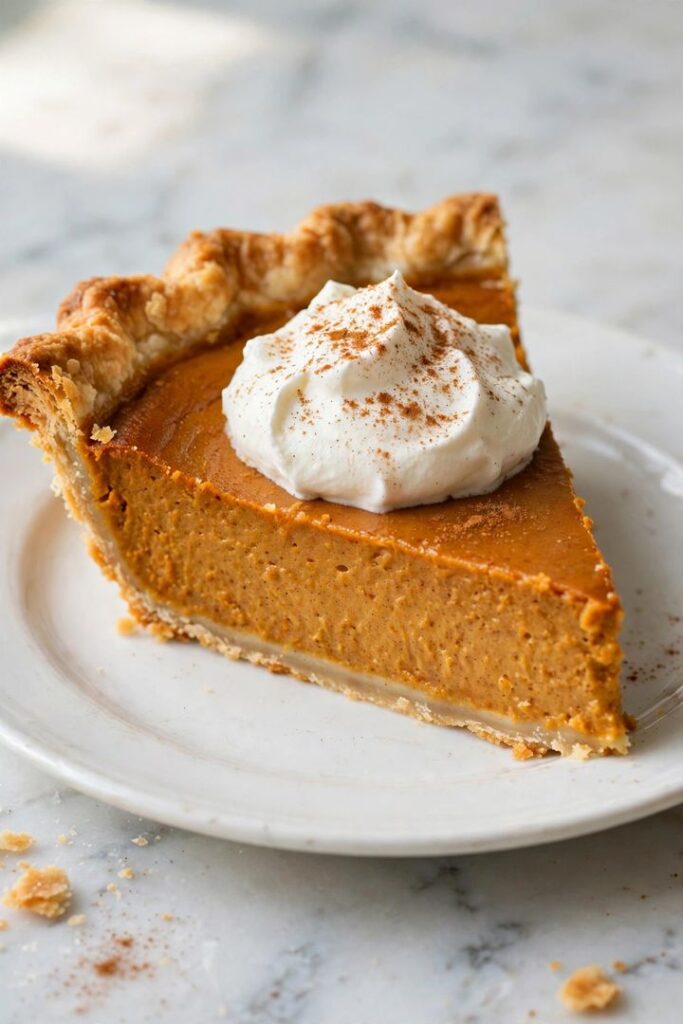
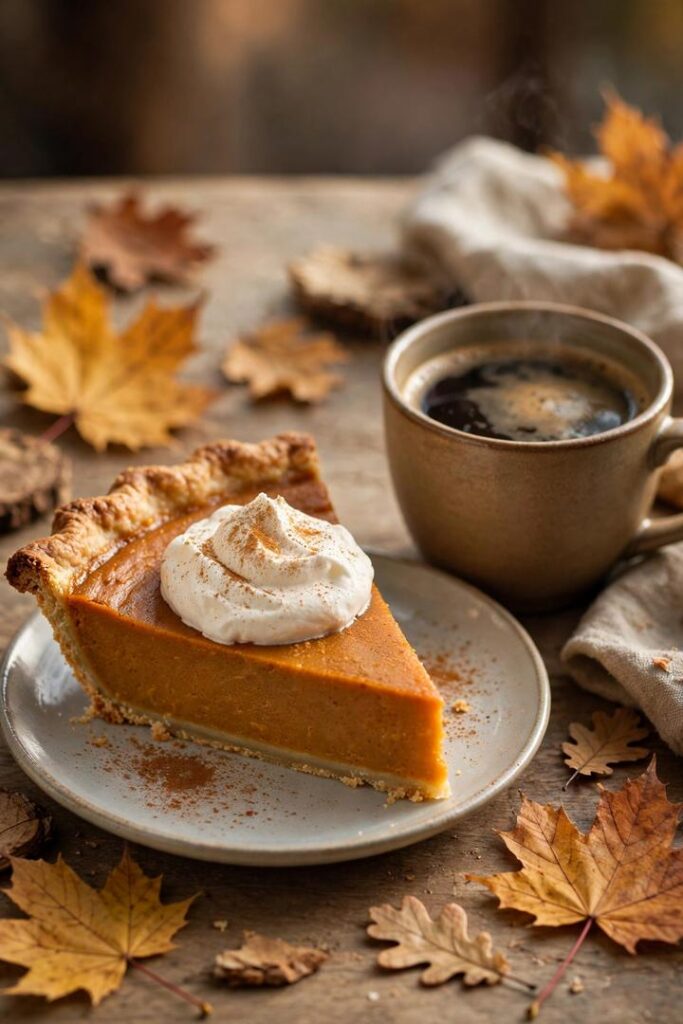
Cut the pie with a long, sharp knife, wiping the blade clean between slices for neat edges. Serve each slice with a dollop of whipped cream and a light dusting of cinnamon on top. This pumpkin pie recipe tastes best slightly chilled or at room temperature, so pull it from the fridge about 20 minutes before serving.
Common Mistakes & Troubleshooting
Most pumpkin pie problems come from an underbaked center, a soggy crust, or a filling that cracked as it cooled, and each one is easy to fix once you know what to look for. Use the table below to spot the cause and put it right.
| Problem | Cause | Solution |
|---|---|---|
| Center is still runny after baking | Pie was underbaked, or it was sliced before the filling set | Bake until the center wobbles like set gelatin, then cool 1 hour and chill 1 hour before slicing |
| Filling cracked on top | Oven was too hot, or the pie cooled too fast | Bake at the two temperatures as written and cool slowly on the counter before chilling |
| Bottom crust is soggy | Filling sat in the crust too long, or the oven rack was too high | Bake on the lowest oven rack and set the dish on a preheated baking sheet |
| Crust edges burned | Edges baked unprotected for the full time | Shield the edges with foil or a pie shield after the first 20 minutes |
| Filling tastes flat or bland | Spices were old, or the sugar was short | Use fresh ground spices and measure the sugar exactly, then taste the filling before baking |
Variations & Substitutions
- Gingersnap crust version: Swap the pastry crust for a pressed gingersnap crumb crust for a spicy, crunchy base.
- Maple version: Replace half the sugar with pure maple syrup for a deeper, woodsy sweetness.
- Dairy free version: Use full fat coconut milk in place of the evaporated milk and serve with coconut whipped cream.
- Gluten free version: Use a gluten free pie crust and check that your spices and vanilla carry a gluten free label.
- Mini pies version: Divide the filling among 6 ramekins lined with small crust rounds and bake for 25 to 30 minutes.
- Extra spice version: Add a pinch of allspice and a little extra cinnamon for a bolder fall flavor.
Serving Suggestions
A slice of pumpkin pie needs little company beyond whipped cream. Serve it after a roast dinner with coffee or spiced tea, or set it on a dessert board with vanilla ice cream and a few gingersnap cookies on the side. For Thanksgiving, bake the pie the day before and slice it just before the table is cleared, since a chilled pie cuts cleanly and the cream stays neat on top. A warm slice with cold cream is the contrast that makes the second piece hard to resist.
Tips for the Best Results
- Use pure pumpkin puree: Pumpkin pie filling already has sugar and spices, so it would make the pie too sweet and throw off the balance.
- Mix spices into the pumpkin first: Dry spices clump in milk, so whisk them into the puree before the eggs and milk go in.
- Bake in two stages: A hot start sets the crust, then a lower heat bakes the custard gently without cracking it.
- Trust the wobble: The center should jiggle slightly like set gelatin when you pull the pie out, since it firms as it cools.
- Cool before you chill: An hour on the counter lets the filling set slowly, so the surface stays smooth and crack free.
- Slice with a clean knife: Wipe the blade between cuts and your slices will come out neat instead of smeared.
Storage Tips
Refrigerator
Store the pumpkin pie covered loosely with plastic wrap in the fridge for up to 4 days. The filling stays silky and the crust holds up well for the first 2 days, then softens a little. Pull the pie from the fridge about 20 minutes before serving so it is cool rather than cold.
Freezer
Freeze the baked pie, without whipped cream, wrapped tightly in plastic wrap and foil for up to 2 months. Thaw it in the fridge overnight before serving and add fresh whipped cream just before the slices go out. The texture will be slightly softer than fresh, but the flavor holds up well.
Reheating
Warm single slices in the oven at 300 degrees F for 10 to 15 minutes if you like your pie warm, or serve it chilled straight from the fridge. Skip the microwave, since it heats unevenly and can make the crust rubbery. Add the whipped cream after reheating, never before, so it stays cool and fluffy on top.
Nutrition Information
Nutrition values are approximate and may vary based on brands and portion sizes.
- Calories: about 320 per slice
- Protein: about 5 g per slice
- Carbohydrates: about 42 g per slice
- Fiber: about 3 g per slice
- Sugar: about 25 g per slice
- Fat: about 14 g per slice
- Saturated fat: about 7 g per slice
- Cholesterol: about 70 mg per slice
- Sodium: about 300 mg per slice
Why This Recipe Works
This pumpkin pie recipe works because the two stage bake treats the crust and the filling the way each one needs. A hot start at 425 degrees F sets the crust quickly so it stays flaky, then the lower heat at 350 degrees F bakes the custard gently, so the eggs set into a silky filling instead of puffing up and cracking. Evaporated milk is the other half of it, giving richness without the heaviness of cream.
The 2 hour rest does the quiet work. An hour on the counter lets the filling finish setting slowly, and an hour in the fridge firms it into a custard that slices clean. I have seen this work well in my own kitchen: a pie cut while still warm slumps across the plate, while a fully chilled pie gives you neat wedges with a smooth top and a crisp bottom crust.
Read Also: Banana Cake
Frequently Asked Questions
How far ahead can you make pumpkin pie?
Bake this pumpkin pie recipe up to 2 days before serving and keep it covered loosely with plastic wrap in the fridge, since the filling stays silky and the flavor deepens overnight. Add the whipped cream just before serving so it stays fluffy. You can also freeze the baked pie, without cream, for up to 2 months and thaw it in the fridge overnight.
Why did my pumpkin pie crack on top?
Cracks usually mean the pie baked too hot or cooled too fast. A high oven puffs the filling up, then it falls and cracks as it cools, and a sudden move into the fridge does the same. Bake at the two temperatures as written, 15 minutes at 425 degrees F and then 40 minutes at 350 degrees F, and let the pie cool on the counter for a full hour before chilling it.
Can I use fresh pumpkin instead of canned pumpkin puree?
Yes, roast a sugar pumpkin until tender, scoop out the flesh and puree it until smooth, then drain it in a fine sieve for 30 minutes so the puree is thick and not watery. Fresh puree can hold more water than canned, so the draining step matters. Measure 15 ounces of the drained puree and use it exactly as you would the canned kind.
How do I know when the pumpkin pie is done baking?
Nudge the dish gently when the timer ends. The edges should look set and the center should wobble slightly, like set gelatin, rather than sloshing like liquid. That small wobble is the sign to pull the pie out, since the filling firms up as it cools. A center that does not move at all is overbaked and will likely crack.
Can I make this pumpkin pie recipe with a store bought crust?
Yes, a store bought crust works well and saves real time on a busy holiday. Unroll it gently, press it into the dish without stretching it, and crimp the edges with a fork. Shield the edges with foil after the first 20 minutes so they do not brown too fast. A homemade crust gives a flakier result, but nobody at the table will complain about the store bought one.
How long does pumpkin pie last in the fridge?
It keeps for up to 4 days covered loosely with plastic wrap in the fridge, and flavor and texture are best in the first 2 days. Do not leave it at room temperature for longer than 2 hours, and freeze the baked pie, without whipped cream, for up to 2 months if you need longer storage. Thaw frozen pie in the fridge overnight and add fresh whipped cream before serving.
Conclusion
This pumpkin pie recipe asks for very little: whisk the filling in one bowl, pour it into the crust, and let the oven and the cooling time do the rest. Keep the spices fresh, trust the wobble at the end of the bake, and give the pie its full 2 hours to cool and chill before you slice.
Bake it the day before the holiday, and let the first slice come out clean with a dollop of cream on top. Once you have served a pie that cuts neatly and tastes like the fall you remember, you will keep this recipe close every year. Enjoy every slice, and save the last piece for yourself.
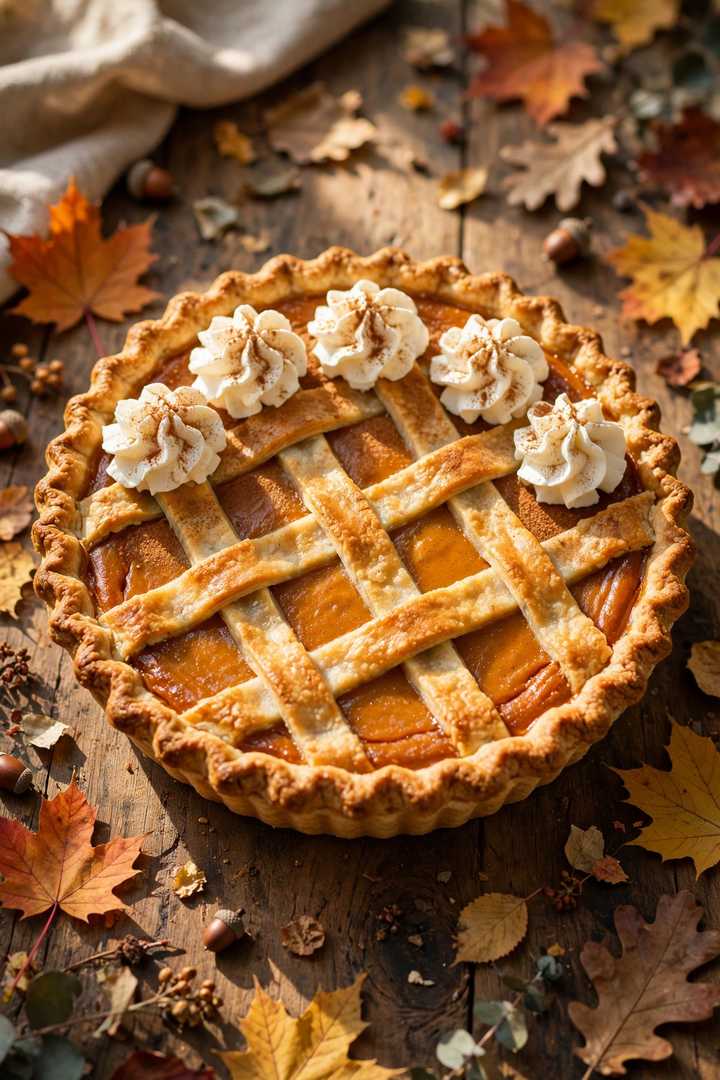
Pumpkin Pie
Ingredients
Equipment
Method
- Prep the Crust and Oven: Heat the oven to 425 degrees F, fit the crust into the 9-inch pie dish, crimp the edges, and set the dish on a baking sheet.
- Mix the Filling: Whisk the pumpkin, sugar and spices until smooth, then whisk in the eggs, evaporated milk and vanilla until silky.
- Fill and Bake: Pour the filling into the crust, bake 15 minutes at 425 degrees F, then lower to 350 degrees F and bake 40 more minutes until the center wobbles slightly.
- Cool on the Counter: Set the pie on a wire rack and let it cool at room temperature for 1 hour so the filling sets slowly.
- Chill Before Slicing: Refrigerate the pie for 1 more hour until the filling feels cold and firm all the way through.
- Slice and Serve: Cut with a long, sharp knife, wiping the blade between slices, and serve each slice with whipped cream and a dusting of cinnamon.