Lemon Bars Recipe: Best 12 Bright Buttery Citrus Squares
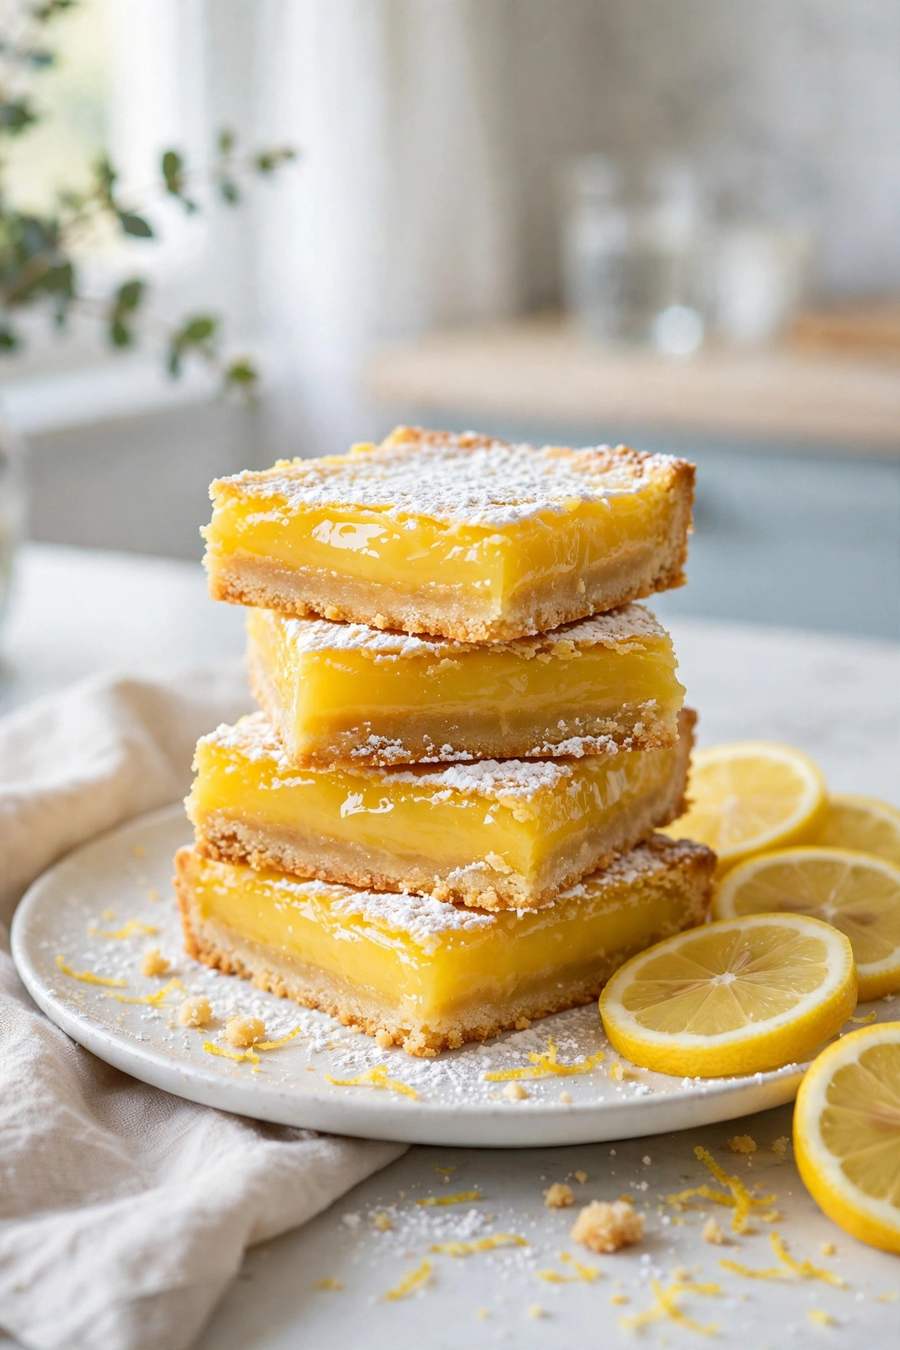
Picture a tray of bars glowing like pure sunshine on the counter, each one crowned with a snowfall of powdered sugar. A crisp, buttery shortbread crust carries a thick layer of filling that is properly tart, not shy about it, and the whole pan finishes with that classic snowfall of powdered sugar. They slice like a dream, travel like champions, and disappear faster than any other tray I bring through a door. What makes this lemon bars recipe special is the balance.
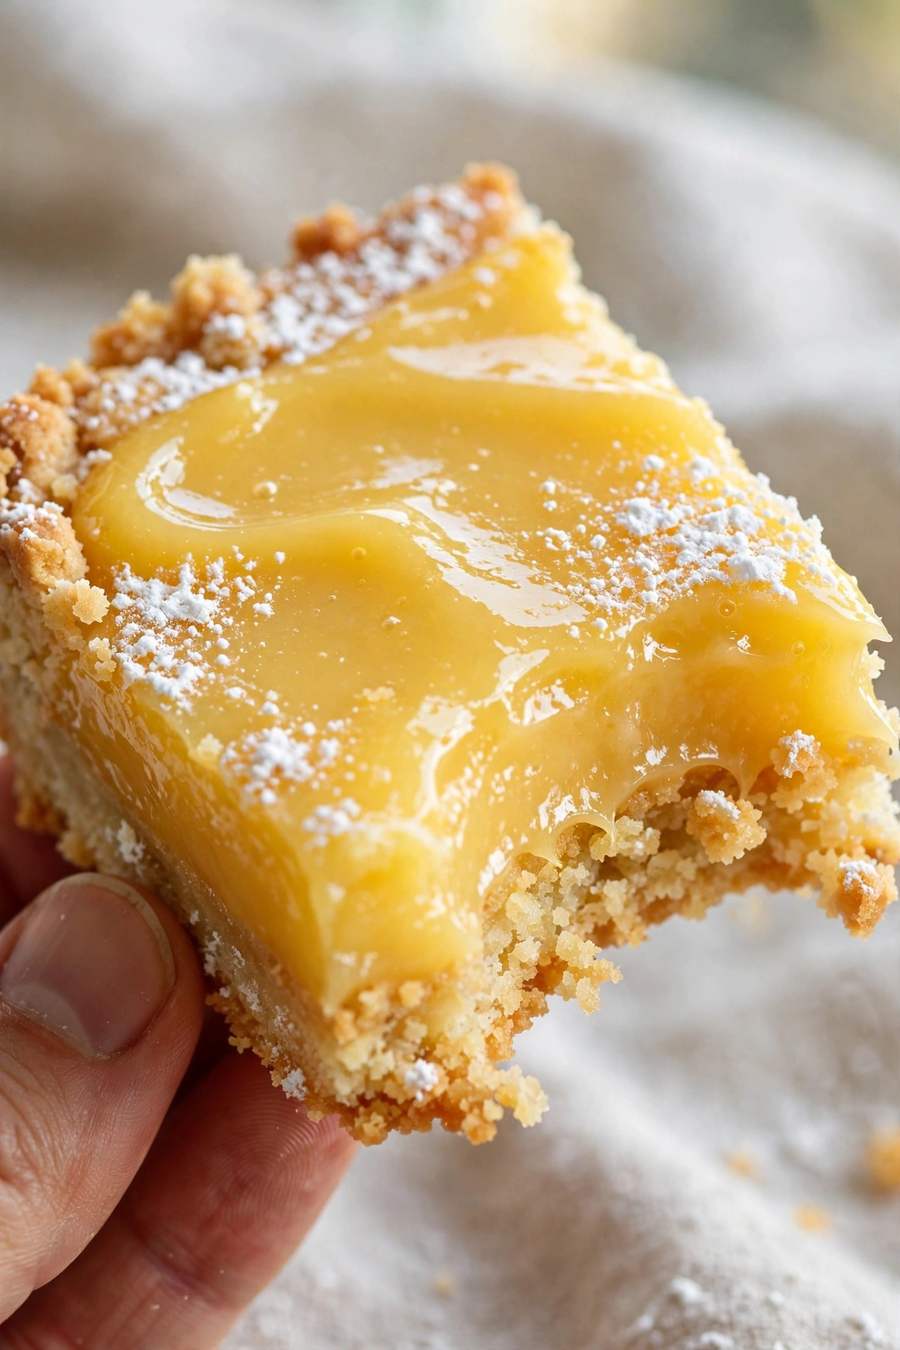
The crust is sturdy enough to pick up with your fingers but tender enough to bite through cleanly, and the filling bakes into a glossy, curd-like layer that holds its edge when you cut it. I have baked this version for bake sales, Eid trays, and plain old Tuesday afternoons, and the feedback is always the same: people ask for the recipe before they have finished the first bar.
Why You’ll Love This Lemon Bars Recipe
- Properly tart filling. A full third of a cup of fresh lemon juice plus zest means real lemon flavor, not a vague yellow sweetness.
- Two simple components. A press-in crust and a whisk-together filling. No mixer, no water bath, no drama.
- Crisp crust, never soggy. The filling goes over the crust while it is still hot, which seals the base as it bakes.
- Clean slices every time. A short chill and a warm knife give you bakery straight edges that look beautiful on a platter.
- Crowd sized pan. Twelve generous bars from one 8 by 8 pan, and this lemon bars recipe doubles neatly for a 9 by 13.
Read Also: Lemon Crinkle Cookies
Ingredients You’ll Need
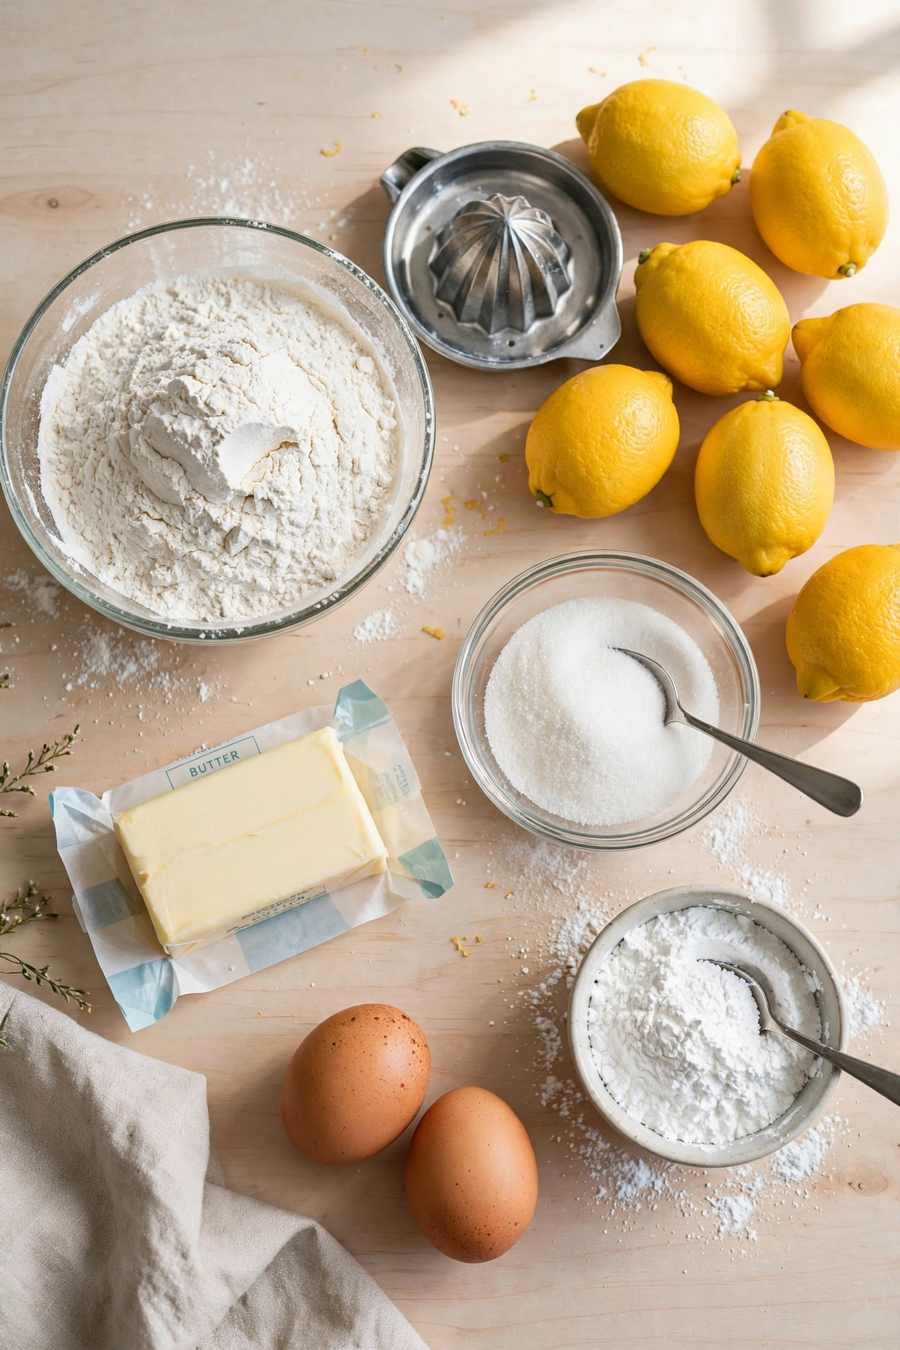
The crust in this lemon bars recipe is just flour, powdered sugar, butter, and salt rubbed together, so buy butter you enjoy the taste of, because it leads the flavor. For the filling, fresh lemons are non-negotiable in my kitchen: you need both the juice and the fragrant zest, and bottled juice simply cannot match that brightness. Room temperature eggs whisk in smoother and help the filling set evenly.
- All-purpose flour, 1 cup for the crust plus 2 tablespoons for the filling. Flour gives the crust its structure and gently thickens the filling so it slices cleanly.
- Powdered sugar, 1/4 cup, plus more for dusting. Powdered sugar in the crust makes it fine and tender rather than crunchy like a cookie.
- Unsalted butter, 1/2 cup, softened. The flavor backbone of the shortbread. Soft butter rubs into the flour quickly and evenly.
- Fine sea salt, 1/4 teaspoon. Just enough to sharpen the lemon and keep the sweetness lively.
- Granulated sugar, 1 cup. Sweetens the filling while letting the tartness lead.
- Baking powder, 1/2 teaspoon. A whisper of lift keeps the filling light instead of dense.
- Eggs, 2 large, room temperature. Eggs are what set the filling into that glossy, curd-like layer.
- Fresh lemon juice, 1/3 cup (about 2 large lemons). The star. Juice the lemons after zesting them for the tablespoon of zest below.
- Lemon zest, 1 tablespoon. Zest holds the fragrant oils, so the bars taste lemony all the way through, not just tart on top.
Read Also: Lemon Loaf
Allergen & Dietary Disclosure
Allergen note: This recipe contains gluten, dairy, and eggs. For a gluten free version, use a 1:1 gluten free flour blend in both the crust and the filling. Nutrition values are approximate and may vary based on brands and portion sizes.
Equipment Needed
- 8 by 8 inch baking pan. Lined with parchment paper, leaving an overhang on two sides so the finished slab lifts out easily.
- Parchment paper. Pressed into the corners of the pan, it gives the crust neat, square edges.
- Mixing bowls. One for rubbing the crust dough together with your fingertips, one for whisking the filling smooth.
- Whisk. For breaking up lumps in the dry ingredients and whisking the eggs, lemon juice, and zest into a smooth filling.
- Cooling rack. For cooling the pan completely before the 30 minute chill that firms the filling for slicing.
- Large knife. Wiped clean and warmed between cuts for bakery straight edges.
Recipe Timing
| Detail | Value |
|---|---|
| Servings | 12 bars |
| Difficulty | Easy |
| Course | Dessert |
| Cuisine | American |
| Prep Time | 15 minutes |
| Cook Time | 40 minutes |
| Rest Time | 30 minutes |
| Total Time | 85 minutes |
Step-by-Step Directions
Step 1: Line the Pan and Heat the Oven
Set the oven to 350 degrees F (175 degrees C). Line an 8 by 8 inch baking pan with parchment paper, leaving an overhang on two sides so the finished slab lifts out easily. Lightly press the paper into the corners so the crust for your lemon bars recipe bakes up with neat, square edges.
Step 2: Make and Press the Crust
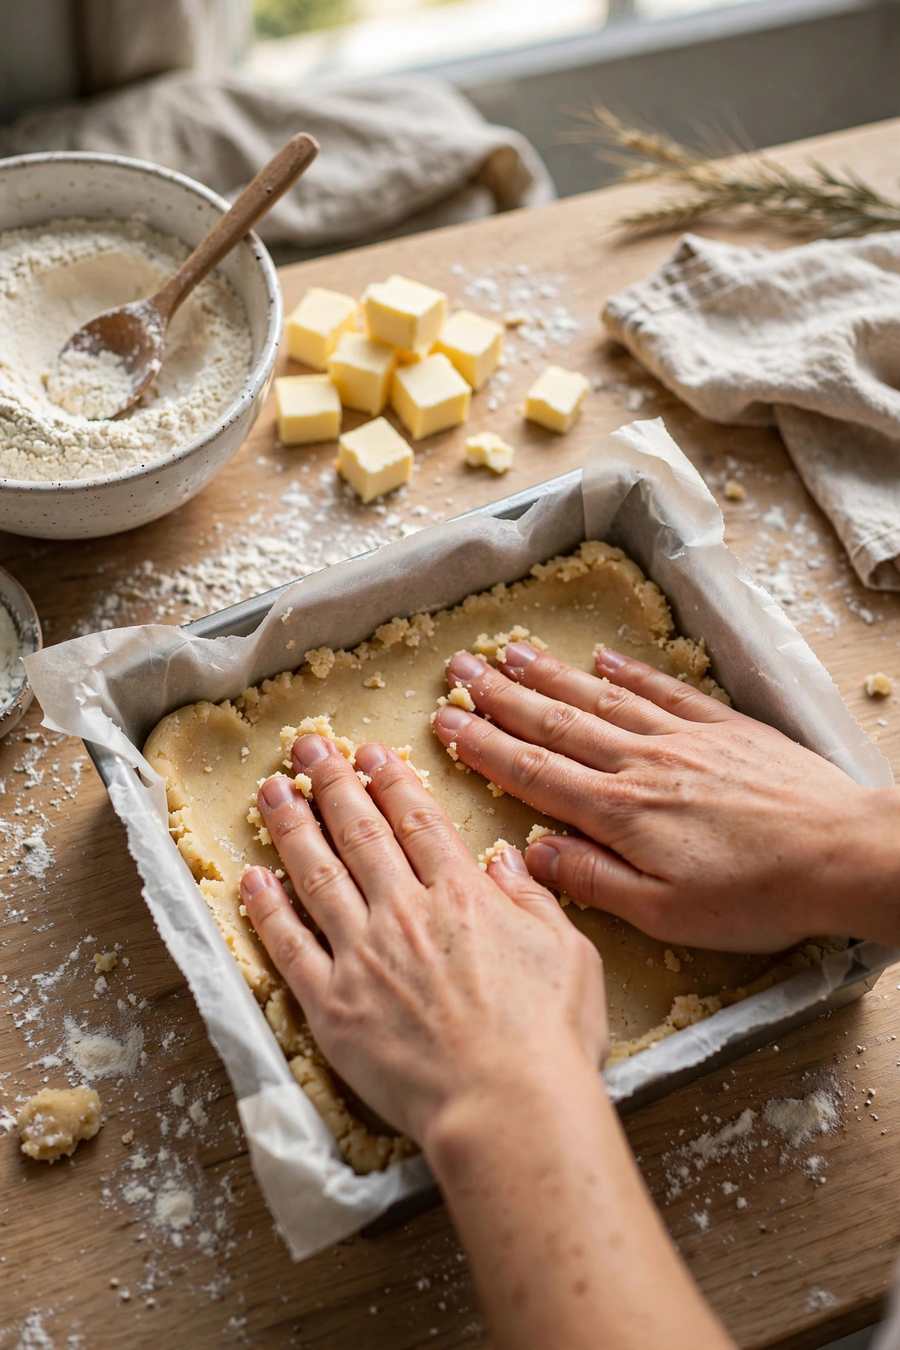
In a bowl, rub the flour, powdered sugar, softened butter, and salt together with your fingertips until a soft, even dough forms with no dry flour left. Press the dough firmly and evenly into the base of the pan. Chef’s Note: an even thickness matters more than a pretty surface, because thin spots brown too fast and thick spots stay pale and soft.
Step 3: Bake the Crust
Bake the crust for 18 to 20 minutes. You are looking for pale golden edges and a center that looks set, dry, and matte rather than shiny with butter. The crust will finish cooking under the filling, so a light color now is exactly right.
Step 4: Whisk the Filling
While the crust bakes, whisk the granulated sugar, flour, and baking powder in a mixing bowl to break up any lumps. Whisk in the eggs until the mixture is smooth and pale, then whisk in the lemon juice and zest. It will look thin, almost like lemonade, and that is correct; the oven does the thickening.
Step 5: Pour Over the Hot Crust
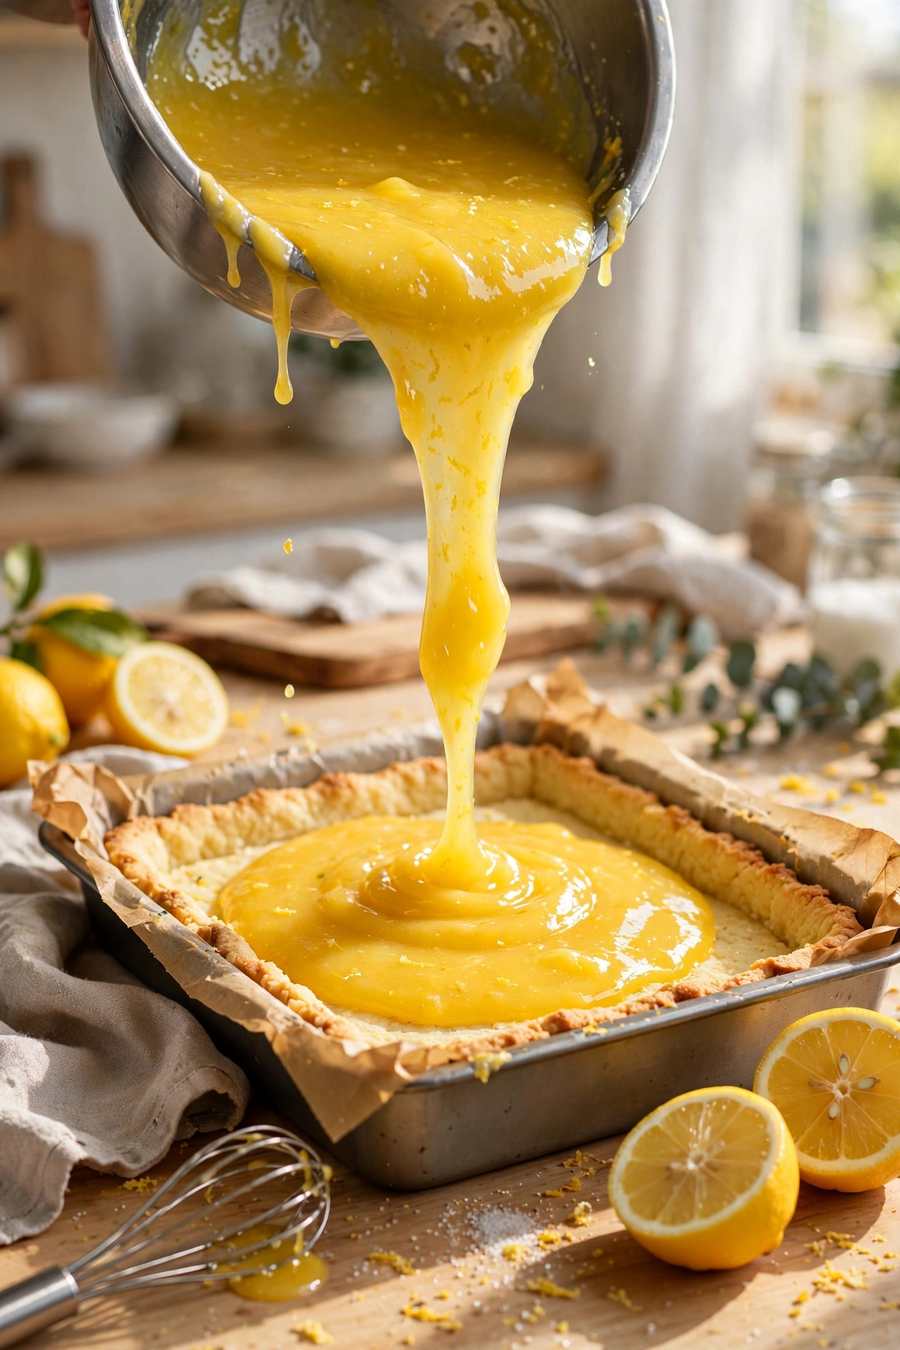
The moment the crust comes out of the oven, pour the filling evenly over it and return the pan to the oven straight away. Chef’s Note: pouring onto a hot crust is the whole trick to a crisp base, because the filling starts setting on contact instead of soaking in while it waits.
Step 6: Bake Until Just Set
Bake for 18 to 20 minutes more. The edges should look set and matte, and the center should give the faintest jiggle, like set gelatin, when you nudge the pan. If it sloshes, give it 2 more minutes. Overbaking this lemon bars recipe is what causes cracks and a rubbery texture, so trust the jiggle and pull the pan early rather than late.
Step 7: Cool, Chill, Dust, and Slice
Cool the pan completely on a rack, then chill it for 30 minutes so the filling firms up for slicing. Lift the slab out with the parchment handles, dust the top generously with powdered sugar, and cut into 12 bars with a large knife wiped clean and warmed between cuts. Chef’s Note: dust right before serving, because powdered sugar slowly melts into the glossy tops as it sits.
Common Mistakes & Troubleshooting
| Problem | Cause | Solution |
|---|---|---|
| Soggy, soft crust | The filling soaked into the base while it waited on a cooled crust | Pour the filling over the crust the moment it comes out of the oven, so it starts setting on contact instead of soaking in |
| Cracked, rubbery filling | Overbaking past the set point | Trust the jiggle test: pull the pan when the center gives the faintest jiggle like set gelatin; if it sloshes, give it 2 more minutes |
| Messy, smeared slices | Cutting the bars while they are still warm | Cool the pan completely on a rack, chill for 30 minutes, and slice with a large knife wiped clean and warmed between cuts |
| Flat, dull lemon flavor | Bottled lemon juice in a recipe with very few ingredients | Use fresh lemon juice and fresh zest; zest the lemons before you juice them |
| Powdered sugar disappearing | Dusting too early; the sugar slowly melts into the glossy tops as it sits | Dust generously right before serving, not before chilling |
Variations & Substitutions
- Lime bars. Swap the lemon juice and zest in this lemon bars recipe for lime, and finish with a tiny pinch of lime zest on each square.
- Meyer lemon bars. Use Meyer lemons for a softer, floral sweetness, and reduce the granulated sugar by 2 tablespoons.
- Coconut crust. Replace 1/4 cup of the crust flour with fine desiccated coconut for a tropical edge that loves lemon.
- Berry swirl bars. Dot a few spoonfuls of raspberry jam over the filling before baking and swirl once with a knife.
- Gluten free bars. Use a 1:1 gluten free flour blend in the crust and filling; the texture stays tender and nobody will guess.
Serving Suggestions
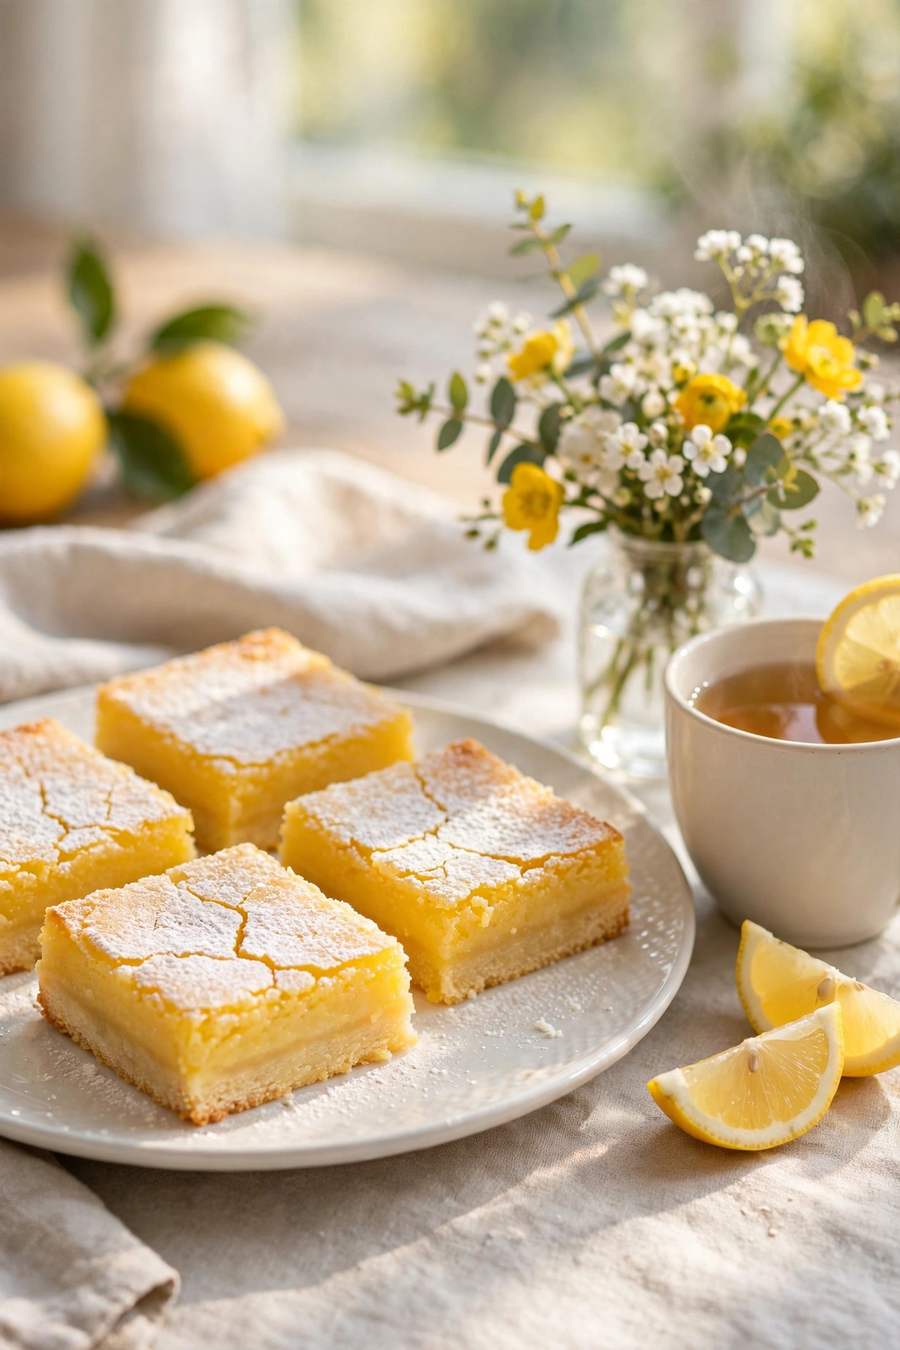
- Serve chilled with a cup of tea for the classic afternoon pairing.
- Add a small dollop of whipped cream and a few fresh raspberries for a plated dinner dessert.
- Stack on a cake stand for bake sales; the yellow tops sell themselves.
- Serve slightly warm with a scoop of vanilla ice cream for a hot and cold contrast.
- Pack into gift boxes lined with parchment for neighbors and teachers; they travel beautifully.
Tips for the Best Results
- Zest before you juice. Zesting a whole lemon is easy; zesting a squeezed one is a knuckle-scraping chore.
- Do not skip the chill. Warm lemon bars smear when sliced. Thirty cold minutes is the price of those clean edges in this lemon bars recipe.
- Trust the jiggle test. A faint center jiggle means a silky set once chilled; a completely firm center means rubbery bars.
- Use fresh juice. In a recipe with this few ingredients, bottled juice leaves a flat, cooked flavor you can taste.
- Wipe the knife between cuts. It takes ten seconds and makes every bar look like it came from a bakery case.
Storage Tips
Refrigerator
Store the bars from this lemon bars recipe in a single layer, or layered with parchment, in an airtight container in the fridge for up to 5 days. The crust stays pleasantly crisp and the filling keeps its gloss. Add a fresh dusting of powdered sugar before serving leftovers.
Freezer
Freeze un-dusted bars in a sealed container for up to 2 months, with parchment between layers. Thaw in the fridge overnight, then dust with powdered sugar once they are cold and dry on top. The texture holds up remarkably well.
Reheating
Lemon bars are best served chilled or at cool room temperature, so no reheating is needed. If you love them warm like I sometimes do, give a single bar 8 seconds in the microwave, just enough to take the chill off without melting the filling.
Nutrition Information
Per bar from this lemon bars recipe: approximately 210 calories, 2 g protein, 30 g carbohydrates, 0 g fiber, 21 g sugar, 9 g fat, 5 g saturated fat, 55 mg cholesterol, and 85 mg sodium. Nutrition values are approximate and may vary based on brands and portion sizes.
Why This Recipe Works
Two small techniques carry this whole lemon bars recipe. First, the crust is baked on its own until set and dry, which builds a crisp foundation that can stand up to a wet filling. Second, the filling is poured over that crust while it is still hot, so its surface seals instantly instead of absorbing liquid, and the bars never suffer the soggy bottom that plagues so many versions. The small amount of flour in the filling works with the eggs to set it into a sliceable curd, and pulling the pan at the faintest jiggle protects that curd from cracking or turning rubbery as it cools. I have tested these bars with a cold crust and without the pre-bake, and the difference in the bottom layer is night and day.
Read Also: Lemon Posset
Frequently Asked Questions
Quick answers to the questions readers ask most about this lemon bars recipe. These are based on typical reader questions and my own testing notes.
Can I make lemon bars ahead of time?
Yes, this lemon bars recipe is an ideal make-ahead bake. They keep for up to 5 days in the fridge and the flavor actually settles and deepens by the second day. Bake them, cool and chill them, and store them un-dusted in an airtight container. Add the powdered sugar snowfall right before you serve them so it stays bright and fresh looking. For longer storage, freeze them for up to 2 months and thaw overnight in the fridge.
Why did my lemon filling not set?
If your lemon bars recipe filling stays soft, the usual cause is underbaking or slicing too soon. The center should leave the oven with only the faintest jiggle, and then the bars need a full cool plus a 30 minute chill to firm up completely. Also check your measurements: too much lemon juice or too little flour tips the ratio toward a soft curd. If a batch stays soft, chill it longer and serve it cold as a spoon dessert over crushed biscuits; the flavor will still be spot on.
Can I use bottled lemon juice instead of fresh lemons?
In a pinch, bottled juice will set the filling of this lemon bars recipe, but the flavor will be noticeably flatter and you will miss the fresh zest entirely, which is where much of the lemon perfume lives. This recipe has nowhere for a dull ingredient to hide, so fresh lemons are worth the small effort. Two large lemons give you both the juice and the zest you need. If bottled is truly all you have, add the zest of any citrus you do have on hand to lift it.
How do I know when the bars are done baking?
When you bake this lemon bars recipe, watch the center, not the clock. The edges will look set and slightly puffed, and the center will jiggle just a little, like set gelatin, when the pan is nudged. If liquid ripples move across the top, bake 2 more minutes and check again. The filling continues to set as it cools, so pulling the pan at that faint jiggle stage is what gives you the silky texture. A completely firm, crackled top means it went a few minutes too long.
Can I make these bars gluten free or dairy free?
For a gluten free lemon bars recipe, a 1:1 gluten free flour blend works in both the crust and the filling with no other changes, though the crust will be a touch more delicate, so handle the slab gently. For dairy free, use a firm plant based butter block in the crust; avoid soft spreads, which make the crust greasy. The filling is naturally dairy free. As always, check every label if you are baking for someone with a serious allergy, since blends vary widely.
Should I dust the powdered sugar ahead of time?
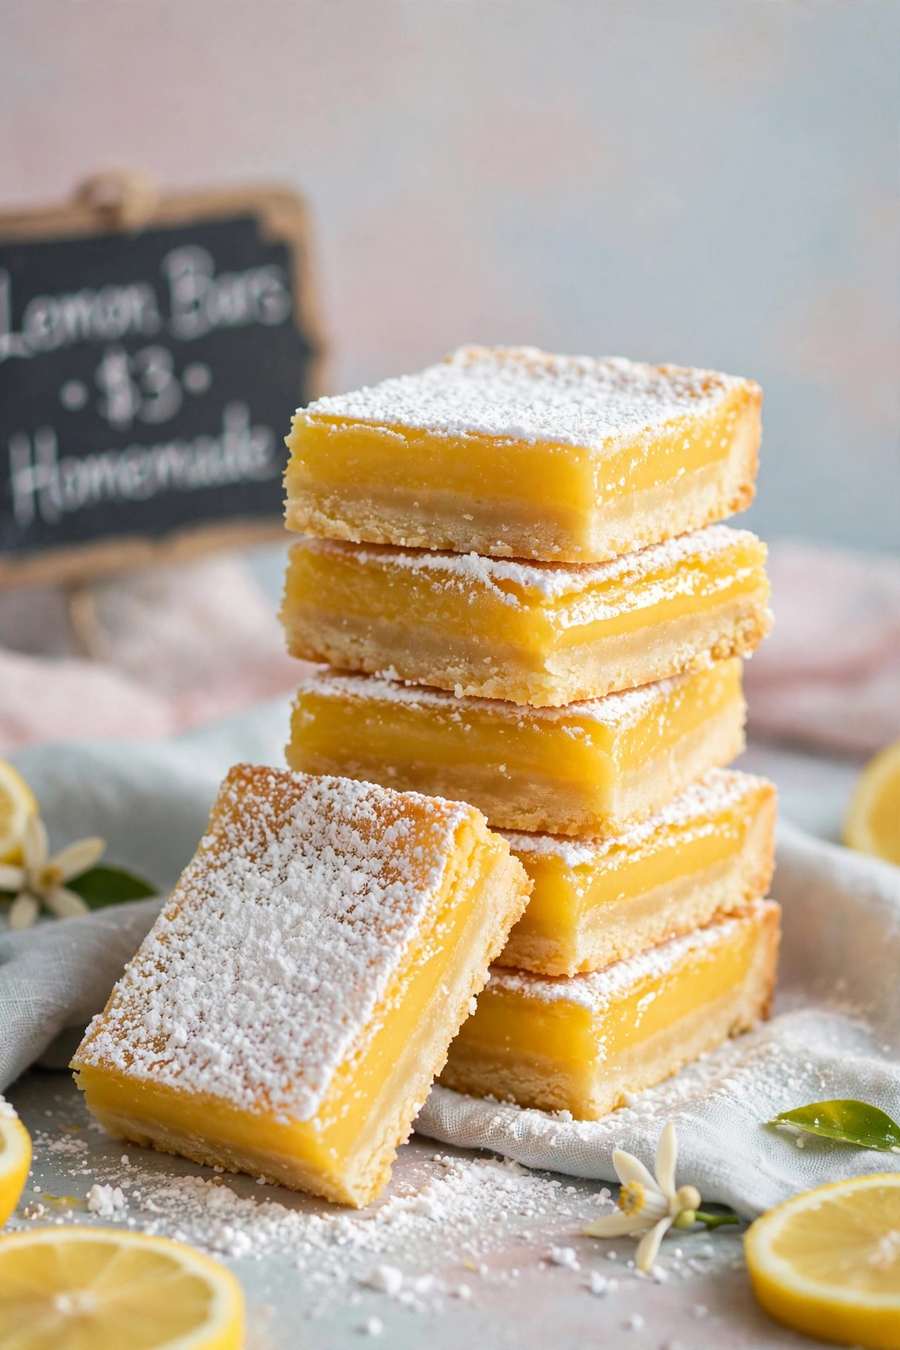
No. Dust the bars generously right before serving, because powdered sugar slowly melts into the glossy lemon tops as it sits and the classic snowfall finish disappears. Chill the pan for its 30 minutes, slice the bars with a warm, wiped knife, and dust them just before they go on the platter or out the door.
Conclusion
A pan from this lemon bars recipe is proof that a short ingredient list and a couple of smart techniques beat complicated baking every time. Crisp crust, bright filling, clean slices: once you have made this lemon bars recipe once, you will find excuses to make it again, for bake sales, for guests, and for the quiet pleasure of a cold square with afternoon tea. If you loved this recipe, save it to your baking Pinterest board so you can find it easily later!

Lemon Bars
Ingredients
Method
- Heat the oven to 350 degrees F (175 degrees C). Line an 8 by 8 inch pan with parchment, leaving an overhang on two sides.
- Rub the flour, powdered sugar, butter, and salt together until a soft dough forms. Press it evenly into the base of the pan with your fingertips.
- Bake the crust for 18 to 20 minutes, until the edges are pale golden and the center looks set and dry.
- While the crust bakes, whisk the granulated sugar, flour, and baking powder in a bowl. Whisk in the eggs, then the lemon juice and zest, until smooth and bright.
- Pour the filling over the hot crust the moment it leaves the oven and return the pan to the oven at once.
- Bake 18 to 20 minutes more, until the edges are set and the center gives the faintest jiggle when you nudge the pan.
- Cool completely, then chill for 30 minutes. Lift out with the parchment, dust generously with powdered sugar, and cut into 12 bars with a warm, dry knife.
Notes
- Pour the filling over the hot crust, never a cold one. The heat seals the base so it stays crisp instead of soggy.
- Room temperature eggs whisk smoother and help the filling bake evenly.
- Dust with powdered sugar just before serving; it melts into the tops if it sits too long.
- For extra lemon punch, add the zest of one more lemon to the filling.